Today’s post covers how to replace the gaskets around a light fixture in a fiberglass pool. The same process applies to vinyl pools but you’ll have to be careful about the placement of the liner in the repair. You will definitely want to consult the installation manual.
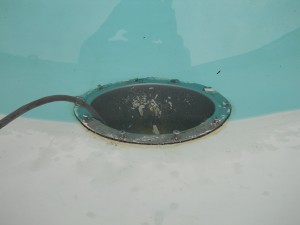
 One thing right off the bat is when you start to look at doing this repair, you will want to note if you have the 8-hole fixture or the 10-hole fixture. You can see that this fixture is 10 holes / screws. In this picture you can see that a former company put a bunch of hard drying epoxy type substance in an attempt to keep the thing from leaking, so all that had to come off first before we could get a good seal with the new gasket.
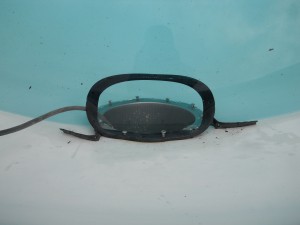
The new gasket is a totally different material than the old ones. The new kits come with both the vinyl thick gasket and a couple of the cork/fabric type. There is no way to retrofit the foam type of gasket in an existing installation because you need to remove the fixture and line up the front and back pieces. What I am doing here is pulling out the remainder of the old gasket (poking out the sides) while wrapping the fixture in the new gasket, starting at the top. You must keep at least 2 bolts always attached to the rear ring (behind the fiberglass wall of the pool) because if not there is the chance of that ring sliding and you not being able to reattach it. Note also that all the old epoxy and black goopy stuff has been removed.
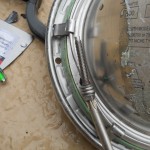
Finally, once the new gasket has been put on, you need to install the chrome ring. The chrome ring is what the light fixture actually attaches too. You have to take the fixture apart because the fixture ring is larger than the chrome ring. When doing this I noticed the nut on the light fixture was almost totally disintegrated.  When I grabbed it with the pliers it just fell apart. Chemical maintenance becomes critical in older fiberglass pools as the lining starts leach into the pool water. I do not profess to know the chemistry behind this, but I’ve seen it a couple times now. The pool water here was so acidic a little cut on my finger started to really burn when submerged. A little trick for the chrome ring, I bought longer SS bolts of the same size as the existing bolts. This allowed me to replace a couple bolts holding the chr
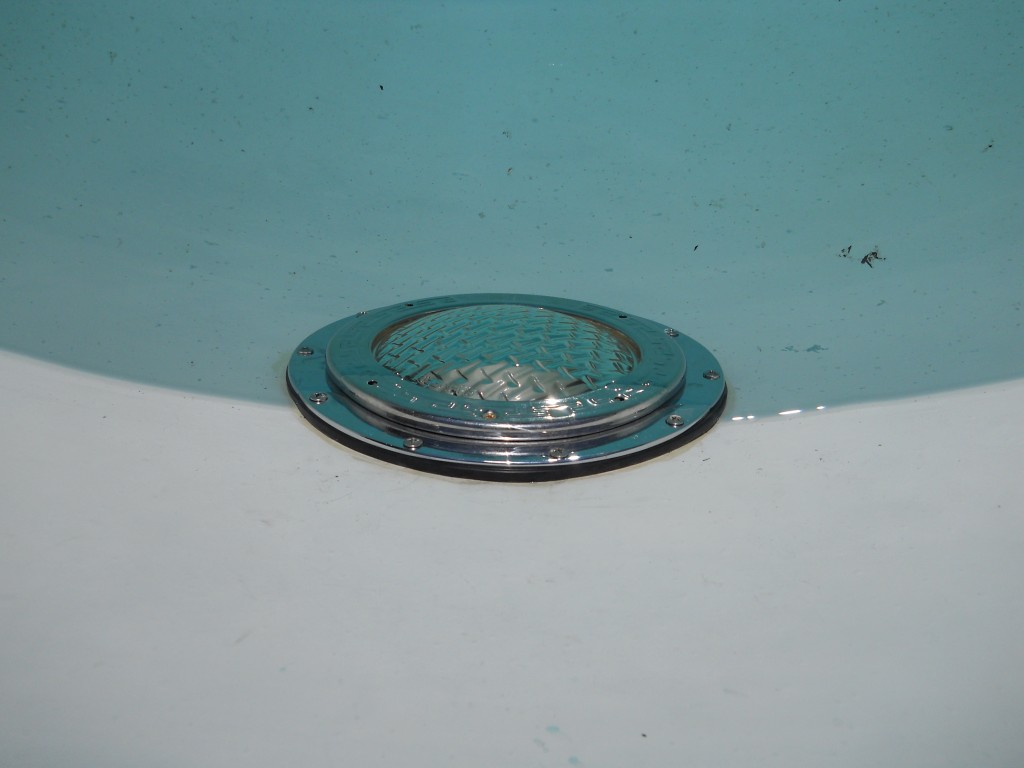
 ome ring to the retaining ring behind the wall. With that secure I could take out all the other ones without worrying about the retaining ring getting away from me. Once you have all the normal bolts in place you can remove the long ones and put the originals back in. The end result looked very nice I thought. If we can help you with leaking fixtures, leaks in general, or just general pool questions, give us a call at 214-989-3888.
